Are you looking to enhance your video’s accessibility and engagement? Learning how to add subtitles to a video in YouTube can be a game-changer for your content. This guide will walk you through the easy steps to add subtitles, making your videos more inclusive and reaching a wider audience. Ready to elevate your video experience? Let’s dive in!
Understanding the importance of subtitles in videos
Subtitles are more than just text on a screen; they play a pivotal role in enhancing viewer engagement and accessibility. Utilizing subtitles can significantly widen your audience base, allowing those who are hearing impaired or non-native speakers to enjoy your content fully.
When creating videos, consider how incorporating subtitles can capture the attention of a global audience. With the rise of mobile viewing, many users may watch videos in environments where audio is not an option. By adding subtitles, you ensure that your message transcends language barriers and environmental noise, ensuring vital information is always communicated.
Moreover, search engines also index subtitles, assisting in SEO optimization. This enhances the visibility of your videos, drawing in more viewers. As such, understanding how to add subtitles to a video in YouTube is essential for maximizing your content’s reach and impact.
Different methods to add subtitles on YouTube
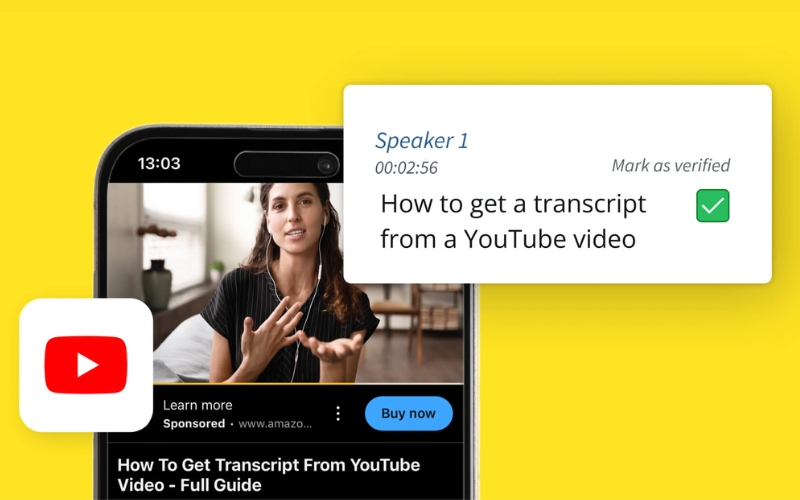
Adding subtitles to your YouTube videos can be accomplished through various methods, catering to different creator preferences and needs. One common method is using YouTube’s built-in features, which allows users to generate and upload subtitles directly on the platform. This integrated approach is user-friendly and does not necessitate any external software, enabling a hassle-free experience.
Alternatively, creators can also choose to upload pre-prepared subtitle files. This option is especially useful for those who want greater control over accuracy and formatting, as it allows video creators to time subtitles accurately to match their spoken words. Whichever route you choose, understanding these methods is the first step in how to put subtitles on YouTube videos effectively. Each method has its advantages, making it essential to select the one that aligns perfectly with your content creation process.
How to use YouTube’s automatic captioning feature
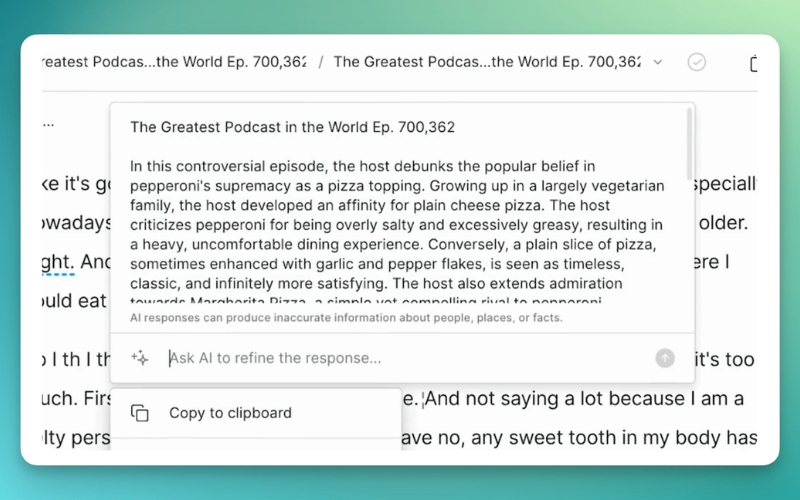
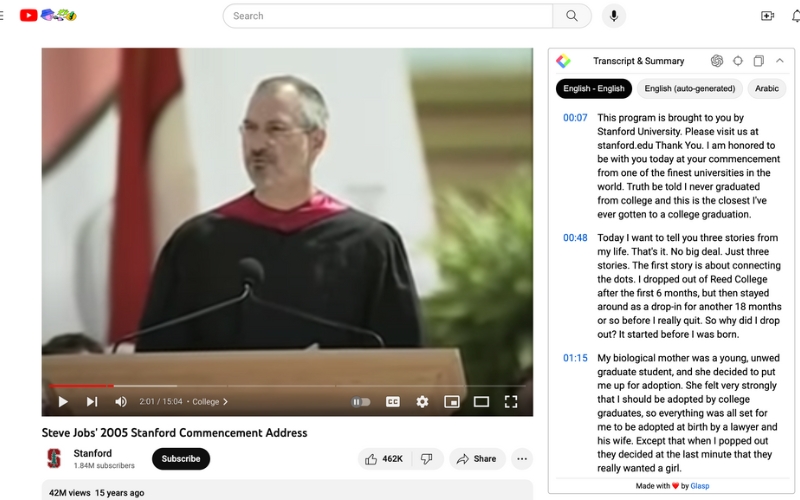
YouTube offers an automatic captioning feature, making the subtitle creation process more efficient. This feature uses speech recognition technology to generate captions for your videos automatically. To enable this, upload your video, and after processing, go to the ‘Subtitles’ option in the YouTube Studio.
This feature is particularly beneficial for those who may be pressed for time or prefer a hands-off approach to subtitle creation. However, it’s important to note that while convenient, automatic captions can sometimes misinterpret words, especially in cases of strong accents or technical jargon. Therefore, reviewing and editing these auto-generated captions is crucial to ensure clarity and accuracy.
By understanding how to utilize this automatic feature, you can save valuable time while still providing an essential service to your viewers by adding subtitles to your video content on YouTube.
Why Pay? Get Premium Videos for Free Here At Snapvideofun.online !
Manual subtitle upload: A step-by-step guide
If you prefer more control over your subtitles, manual uploading is a great option. To start, prepare a subtitle file in the SubRip (.srt) format or another supported format. Once your video has been uploaded to YouTube, navigate to the video in YouTube Studio, then click on ‘Subtitles’ to enter the subtitle menu.
In this menu, select ‘Add Language’ and choose your desired language. Click on ‘Add’ under the subtitles section, where you will have the option to upload your SRT file directly. Make sure that the timing within the file aligns well with your video’s audio.
Following these steps will ensure that your subtitles are seamlessly integrated into your video content. This process not only enhances accessibility but also guarantees that the captions are correctly formatted and accurate, fulfilling what viewers expect from high-quality content.
Editing and adjusting subtitles for accuracy
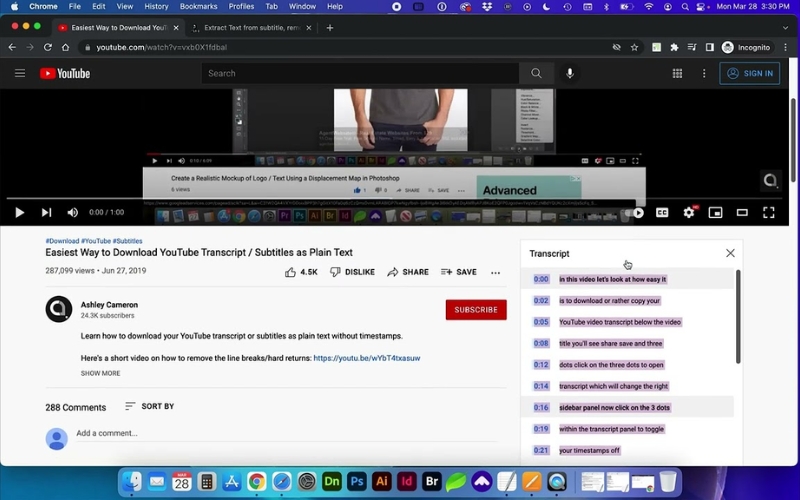
After uploading subtitles, reviewing and editing is crucial for maintaining accuracy. Even the best technologies can miss nuances or context in spoken language. To edit subtitles, simply go back to the subtitle section in YouTube Studio, where you can review each line of text alongside the associated video segment.
It’s essential to pay attention to pacing; viewers should have enough time to read without feeling rushed. Adjust the timing as necessary by changing the start and end times of each subtitle line. This careful editing ensures that all viewers can follow along without missing critical information, thus enhancing their viewing experience on YouTube.
Taking the time to get this right can significantly improve how your audience perceives your content and reflects your professionalism as a creator.
Best practices for subtitle formatting and timing
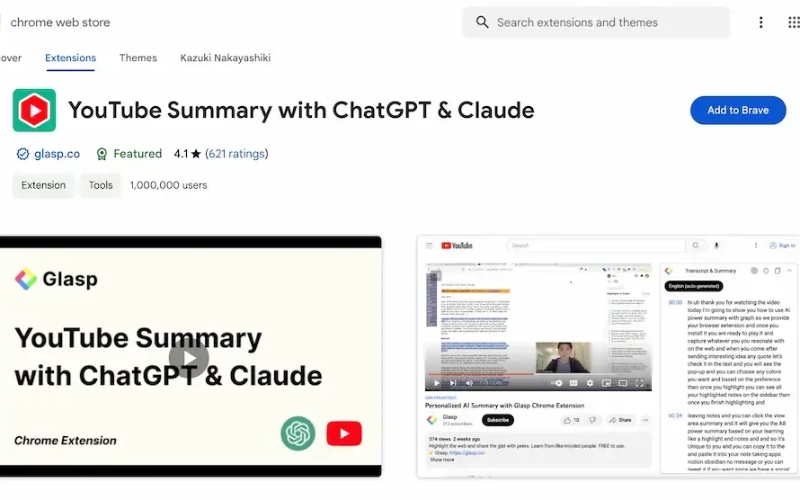
Effective subtitle formatting and timing are key elements in ensuring optimal viewer engagement. For optimal viewing, maintain a simple format that is easy to read. Choose a clear font and maintain a consistent size throughout the subtitles.
Consider breaking lines for easier reading—typically, short lines of text that appear at a time are preferred. Additionally, avoid displaying too many words at once; two lines of text generally works best. Timings play an equally crucial role. Aim to display each subtitle for a minimum of two seconds to allow ample reading time.
By adhering to these best practices, you’ll not only improve viewer comprehension but also enhance the overall aesthetic quality of your videos, leading to a more enjoyable viewing experience.
Troubleshooting common issues with subtitles on YouTube
Despite the straightforward process of adding subtitles, several common issues may arise, requiring troubleshooting. One frequent problem is the mismatch in timing between the video audio and displayed subtitles. This can be resolved by going back into the subtitle editing tool and adjusting the timing.
Additionally, ensure that the subtitle files are correctly formatted. Errors in the subtitle file can prevent successful uploads. If viewers report that they cannot see subtitles, check their playback settings and ensure subtitles are enabled. Addressing these concerns promptly maintains a positive user experience and reflects reliability on your part as a content creator.
By being aware of these potential pitfalls and how to fix them, you empower yourself to provide seamless access to your video content for all viewers.
- Creative YouTube Banner Examples for Inspiration
- Unlock YouTube AI Content Assistant for Creative Growth
- Best Apps to Edit YouTube Videos for Stunning Results
- What Kind of Camera Do Youtubers Use for Quality Videos
- How Long Should a Video Be on YouTube for Engagement
In conclusion, subtitles are a vital element in video production, enhancing accessibility and engagement while providing key SEO benefits. By utilizing various methods for adding subtitles, such as YouTube’s automatic captioning feature or manual uploads, you can ensure your content reaches a broader audience. This article has equipped you with essential techniques and best practices to ensure your subtitles are accurate and effective. If you’re ready to enhance your videos, consider adding subtitles today to maximize your impact and connect with viewers.

ARTICLES IN THE SAME CATEGORY
Understanding How Much It Costs to Start a Podcast
Download Free Raw Podcast Clips for Editing
Do Podcasters Make Money and How to Increase Earnings
Explore the Excitement of Challenge Videos Today
Discover the Best YouTube Podcasts on Spotify
How a Beginner Starts a Podcast Effectively
How to Start a Podcast Script Effectively and Creatively
How to Setup Live Stream on YouTube Easily